Syllabus

Sajo Jirugi 2

Download Printable PDF version (523Kb)
The basic exercise Sajo Jirugi is identical to Sajo Jirugi 1 except that it uses middle section inner forearm block. Please see the page for Sajo Jirugi 1 for more detailed advice on correct technique.
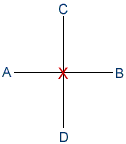
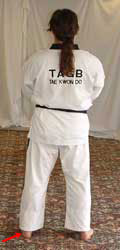
This diagram shows the pattern that all the moves make. Chunbi position starts at X, facing towards D.
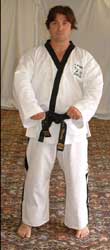
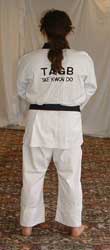
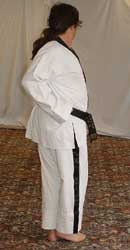
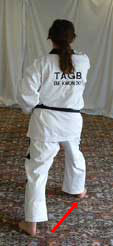
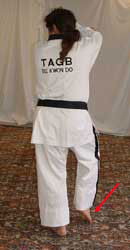
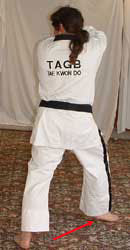
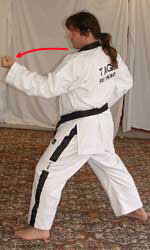
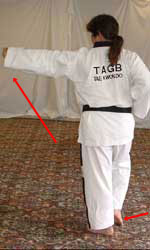
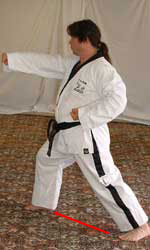
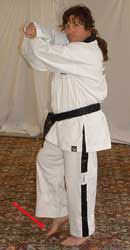
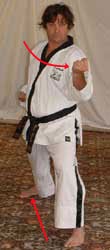
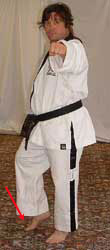
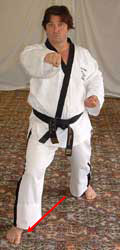
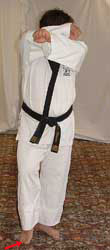
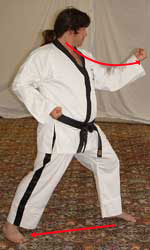
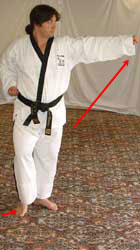
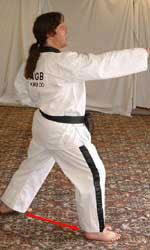
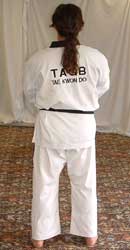
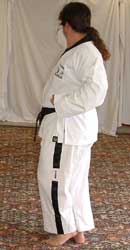
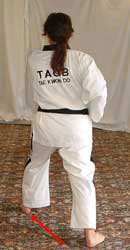
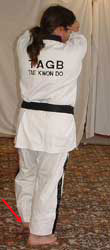
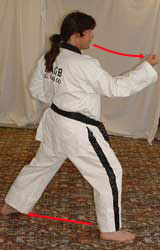
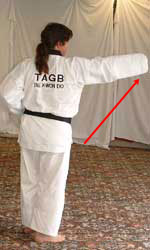
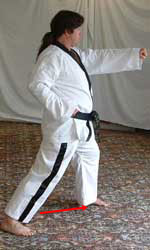
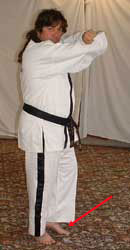
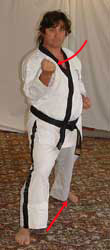
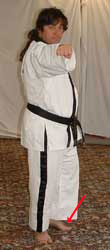
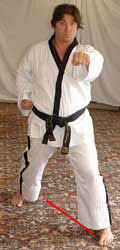
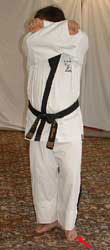
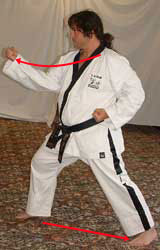
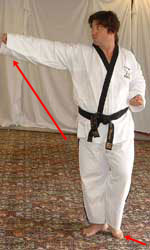
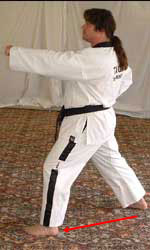
The following pictures show each of the moves – to help beginners we have broken each move down further into the ‘chamber’ (preparation) stage. Each pattern move is numbered – the number is shown at the bottom of the photo.